![]()

Choosing the Right Roof Access Hatch for Your Home
According to the Bureau of Labor Statistics, fall, trip, and slip accidents account for about 83.1% of all fatal injuries in roofing construction. That’s a number no one wants to see—especially when safer options are available.
One simple way to cut down the risk? A properly chosen roof access hatch. It creates a safer, more direct path to the rooftop, reducing the need for makeshift ladders or risky climbs.
But not all roof hatches are the same. With different styles, materials, and features, the right choice can make a big difference.
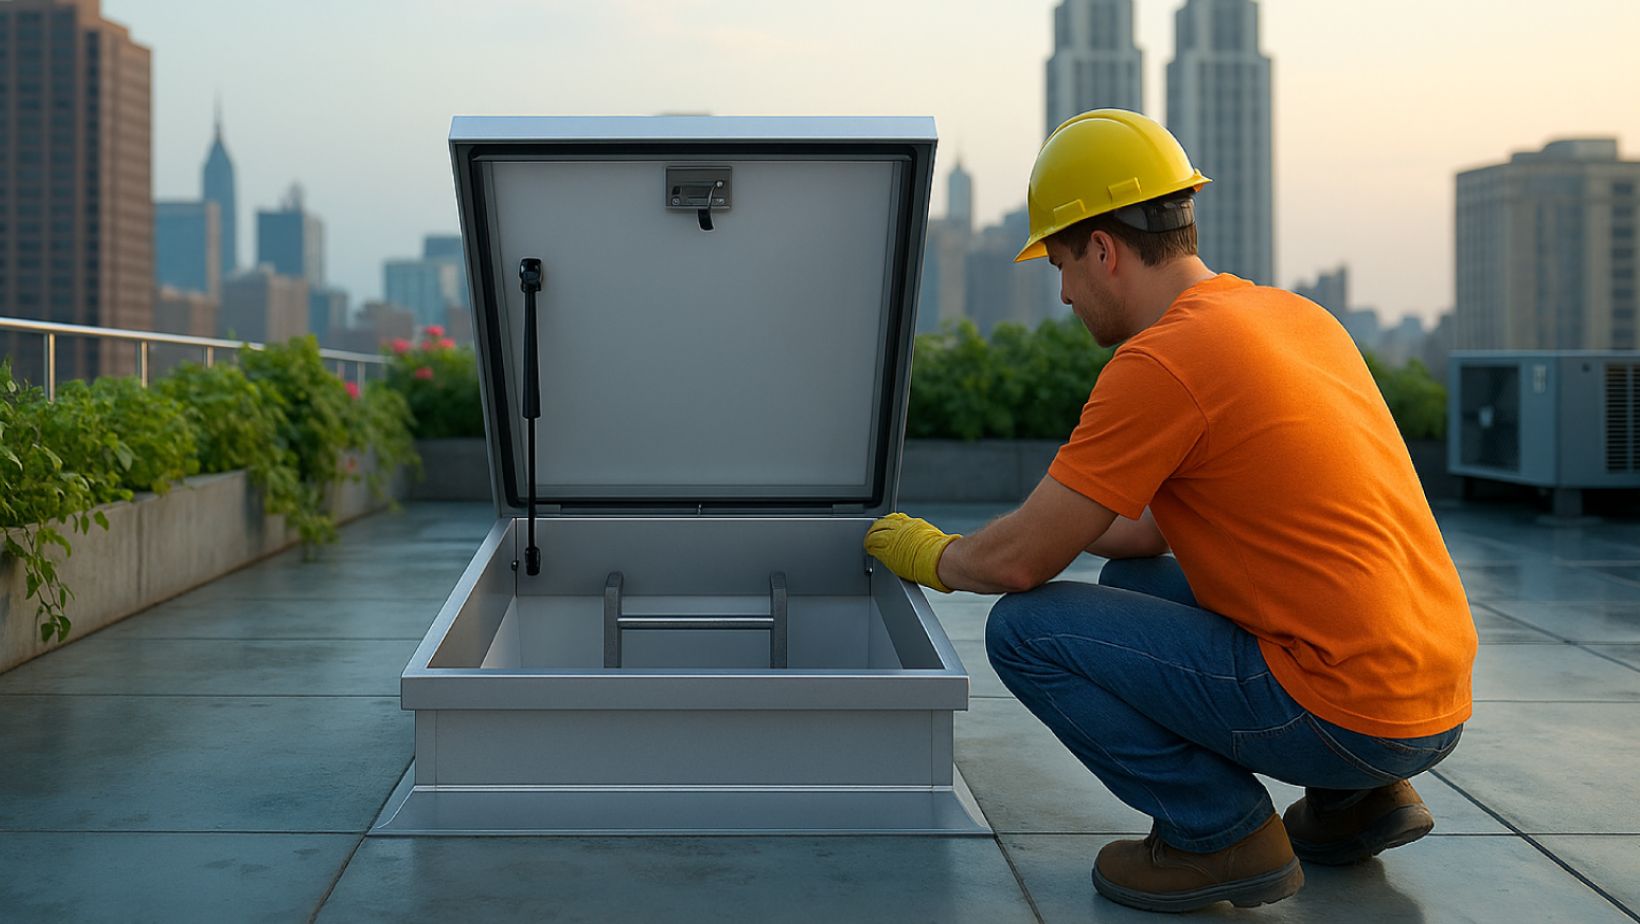
What Is a Roof Access Hatch?
A roof access hatch is a hinged door or opening installed on a flat or low-slope roof that provides safe, easy entry to the rooftop. It’s often used in commercial or multi-story buildings where regular access is needed for maintenance, inspections, or equipment checks.
Instead of hauling out a ladder every time, a roof hatch offers a built-in, secure way to get up there. Most hatches open upward and are paired with a fixed interior ladder or staircase, depending on the layout.
Key Benefits of Having a Roof Access Hatch
Here are a few standout benefits of a roof access hatch:
- Improved Efficiency: The right roof access solution can speed up regular rooftop tasks and streamline movement in and out of the space.
- Easier Maintenance: Roof access hatches make reaching vents, HVAC systems, or solar panels simple when service is needed.
- Weather Protection: Some roof access types have insulation and tight seal features, which help block out rain, snow, and unwanted drafts.
- Clean, Low-Profile Look: A well-chosen roof hatch blends smoothly into the roofline for a neat, unobtrusive finish.
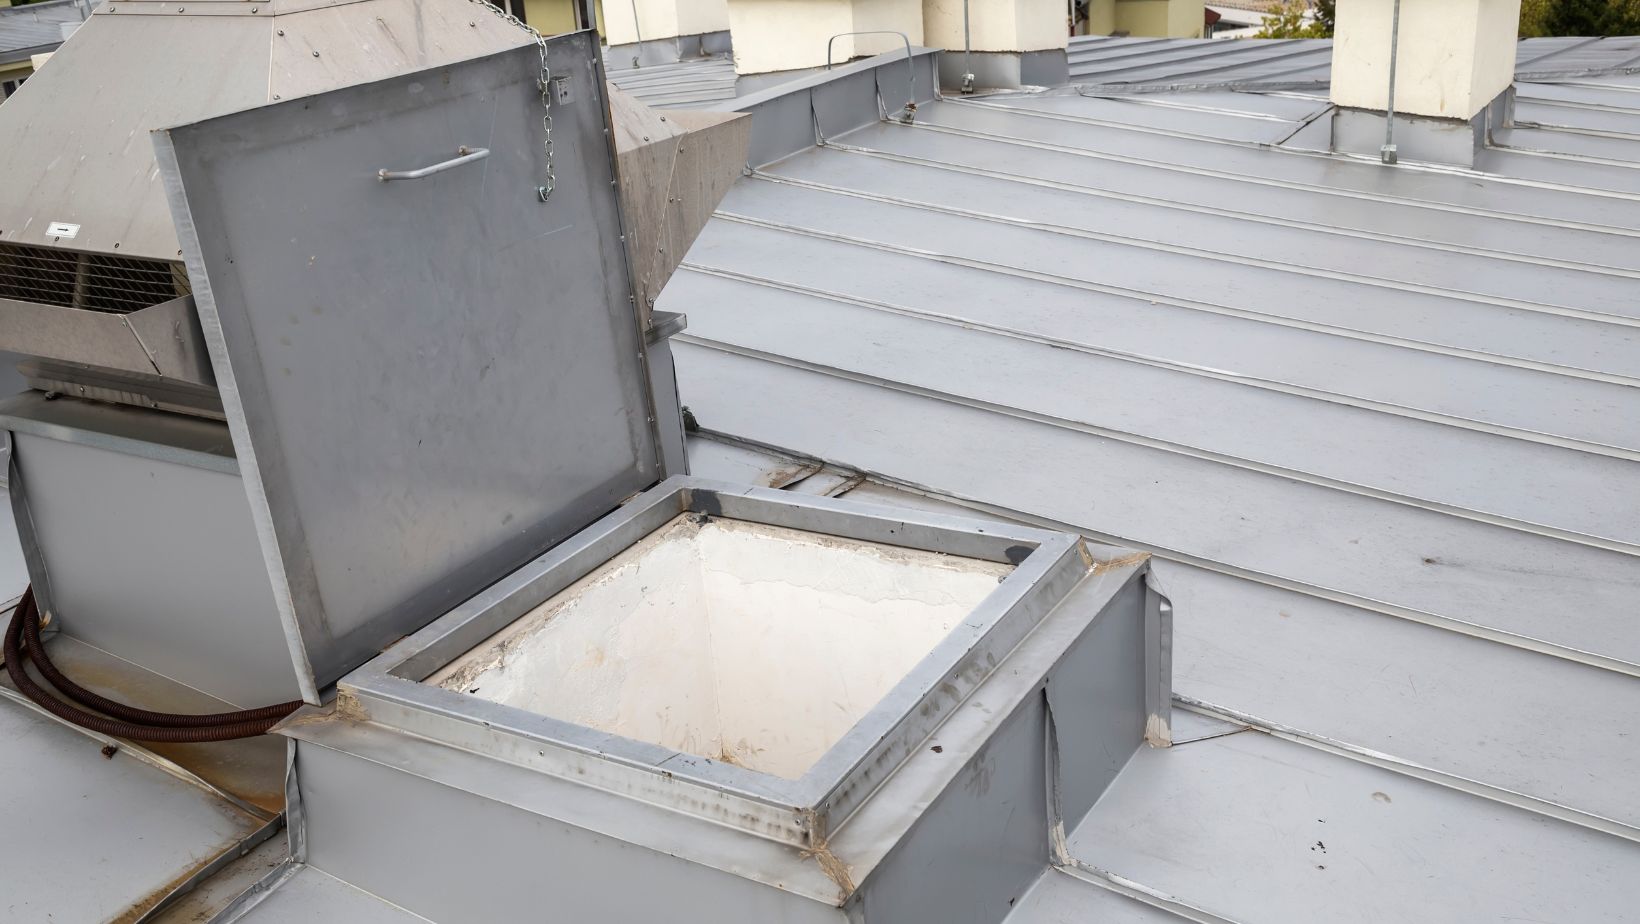
Roof Hatch Placement: Where and How To Install
As said, roof access hatches can be installed in residential and commercial buildings, offering a practical and secure way to reach rooftops.
Here are some tips on how to choose the best spot and installation approach:
Choosing the Right Location
- Proximity to Key Areas: The roof hatch should be placed near areas that require regular access, such as HVAC units, ventilation systems, or other rooftop equipment that needs maintenance or monitoring.
- Compliance With Building Codes: Ensure the hatch placement follows local building codes, which include height, clearance, and load-bearing requirements. This helps avoid costly revisions and ensures safety.
- Avoidance of High-Traffic Zones: Position the hatch in a low-traffic area to minimize accidental interference or risk. It should be easily accessible for maintenance teams but not in the way of everyday activities.
- Consideration of Structural Integrity: When selecting the location, consider the roof’s load distribution. The hatch should be placed in a structurally sound area, avoiding weak spots that could compromise safety or damage the roof.
Installation Tips
- Sturdy Framing: Ensure the roof hatch frame is securely anchored to the roof structure. A solid frame is essential to prevent movement and ensure long-term durability.
- Proper Weatherproofing: Use high-quality seals and insulation to protect against water, wind, and temperature changes. This helps prevent leaks and enhances energy efficiency.
- Fall Protection: Install safety features such as guardrails or edge protection to prevent falls during rooftop access. It is also crucial for meeting safety standards and protecting workers.
- Smooth Operation: Check that the hatch opens and closes easily without obstruction. It should function smoothly and securely, even in harsh weather conditions.
- Weather-Resistant Hardware: Use corrosion-resistant materials for all hardware, such as hinges, locks, and fasteners, to ensure longevity and reliable performance in outdoor conditions.
Maintenance Tips To Keep It Safe and Effective
Here are a few simple tips to ensure it stays in great condition:
Regular Inspections
It’s important to check the roof hatch regularly for any damage. Look for rust, cracks, or wear on the seals. Catching small issues early can save time and money down the road.
Also, check the hinges and locks to ensure they work properly. If they start feeling loose or stuck, it’s a sign that they might need attention.
Cleaning and Lubrication
Cleaning the hatch helps keep it working smoothly. Ensure no dirt, leaves, or debris blocks the hatch or hinges. A quick clean can prevent bigger problems later.
Lubricate the moving parts, like the hinges and locks, to ensure everything opens and closes without a hitch. Use a weather-resistant lubricant to keep it smooth, especially in harsh weather.
Seal and Weatherproofing Checks
Check the seals around the hatch regularly. Replace them if they are worn out or cracked to prevent water or drafts from getting inside. This keeps everything safe and dry.
After bad weather, it’s a good idea to reapply some fresh sealant. This helps maintain weatherproofing and keeps the hatch protected for the long run.
Keep Safety Features in Check
Safety features, including guardrails or edge protection, should be checked regularly to ensure security. If anything seems loose or damaged, fix it immediately to keep people safe.
Also, make sure the hatch still opens and locks easily. It should work smoothly in an emergency, so test it out occasionally to keep everything in top shape.
Conclusion
Choosing the right roof access hatch isn’t just about getting from point A to B—it’s about ensuring the building stays safe, functional, and easy to maintain. With the right fit, placement, and care, a roof hatch can offer long-term convenience while blending seamlessly into the overall structure.